Configure the CI
At Renuo we always use a CI (Continuous Integration) system to test our applications. It’s essential to guarantee that all the tests pass before building and releasing a new version through our CD system. Our projects use SemaphoreCI.
ℹ️ Are you using Gitlab? Have a look at this example instead (and elaborate).
Before configuring the CI, you should already have a Git Repository with the code, a bin/check command to execute,
and the main branches already pushed and ready to be tested.
- Proceed to https://renuo.semaphoreci.com/ and login through GitHub with [email protected] (1Password)
- Follow these instructions to install semaphore CLI https://docs.semaphoreci.com/reference/sem-command-line-tool/
- Create a project here: https://renuo.semaphoreci.com/new_project
- Go to the project’s artifact settings:
Settings>Artifacts - Set the retention policy for project, workflow and job artifacts to
/**/*and2 weeks
Rails specific configuration
renuo configure-semaphore
The command will copy the necessary templates to .semaphore folder using the renuo-cli. These files need to be maintained on the renuo-cli repository.
Adapt the files and remove the develop related ones if you don’t use the develop branch.
- Add a file called
.nvmrcto the project root, where you specify the latest node version - Commit the files to both branches, push and watch the CI run.
When all builds are green, then you have properly configured your CI and CD.

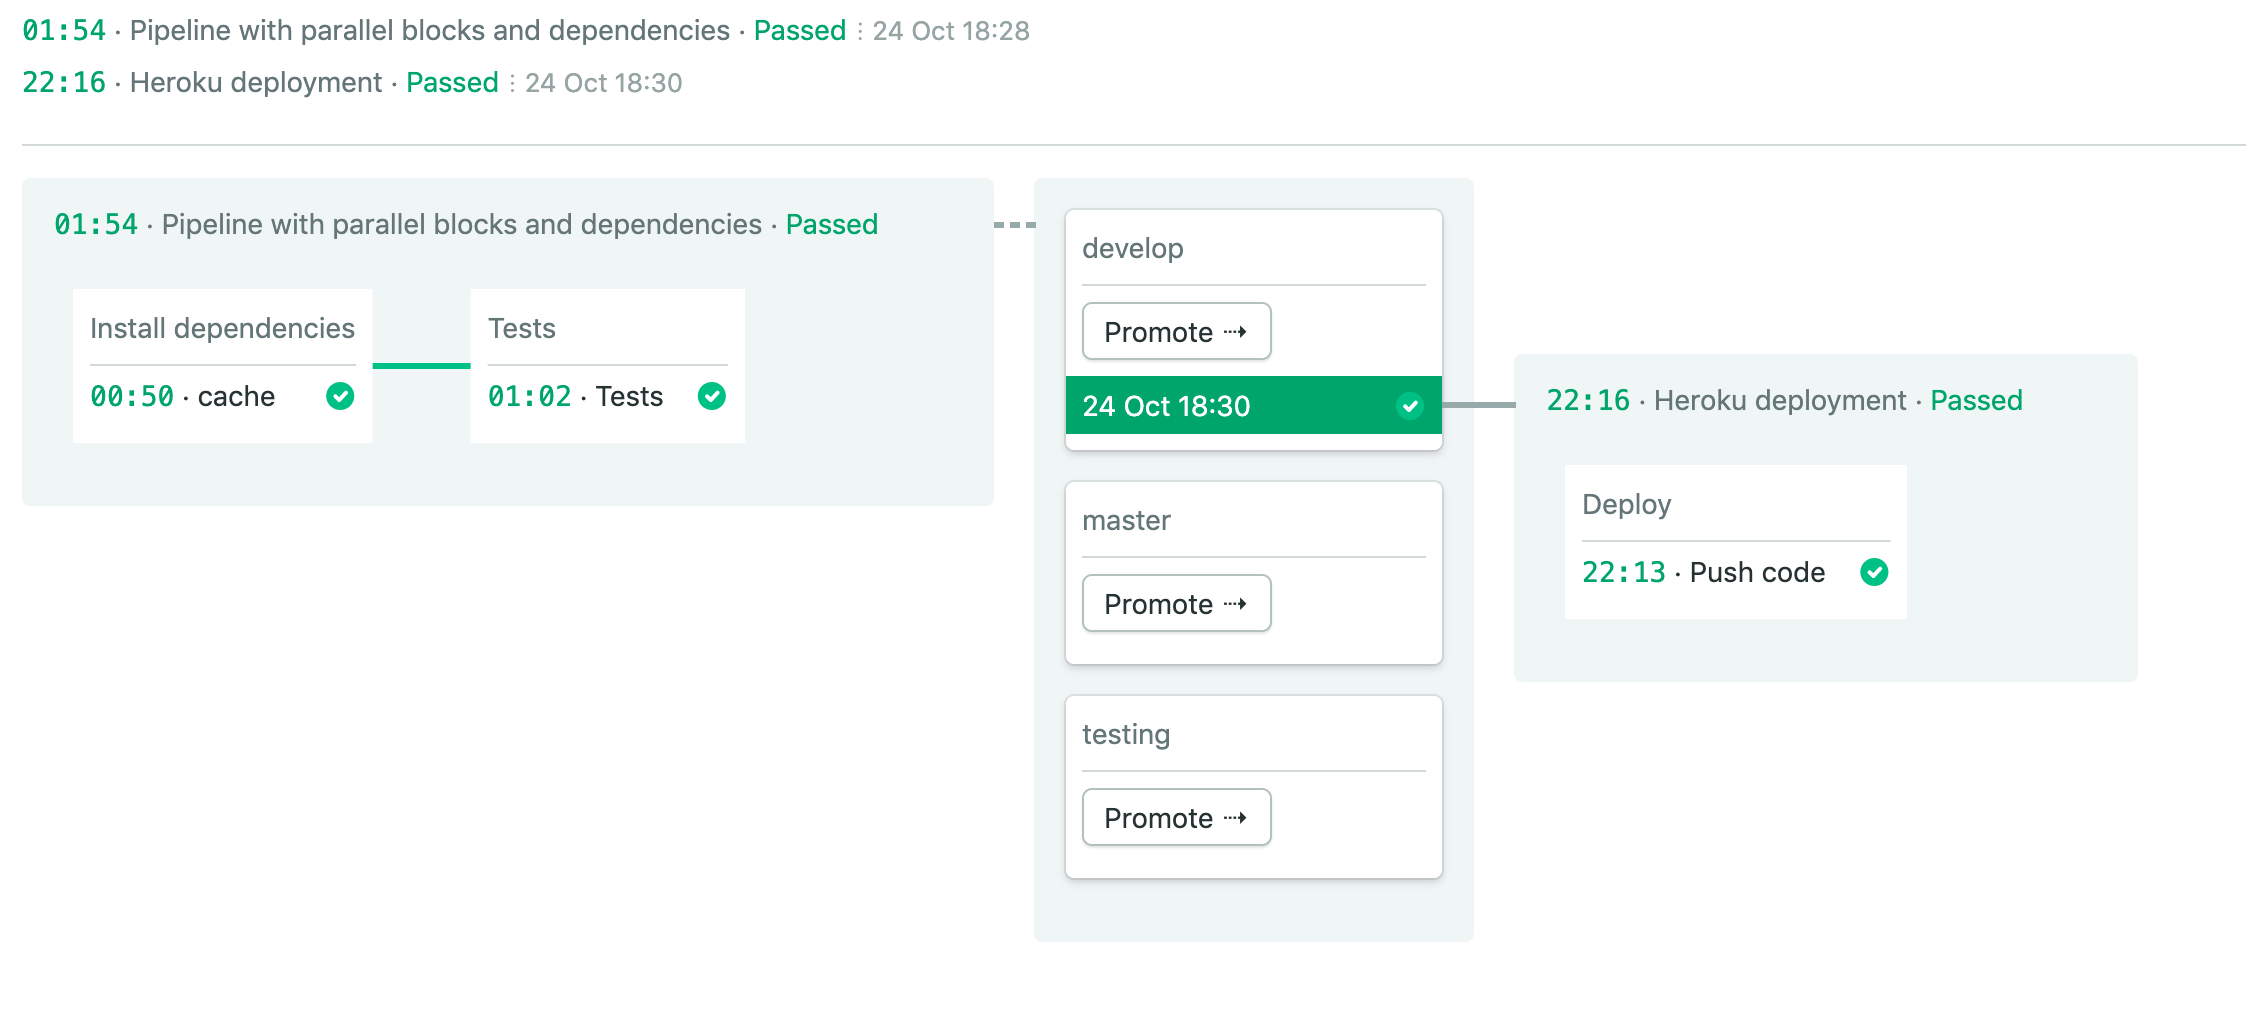
You should now see a third block where your deployment runs to Heroku. Make sure it is green and deploys correctly:

Conclusion
You have now your application running on all the environments. From now on, all the changes you will push on develop or main branches in GitHub will be automatically deployed to the related server.
It’s time to create some first Pull Requests with some improvements.
Don’t forget to go back to the GitHub settings and add the CI to the required checks!
A note about contacting the Semaphore support
The Semaphore Support team will use your primary Github email address for communication.
If this is not the renuo.ch address, you need to tell them ([email protected])
to change your contact email address manually.